Difference between revisions of "Documentation:The Editor and data format"
| Line 9: | Line 9: | ||
[[File:CacheAndEventButtons.png]] | [[File:CacheAndEventButtons.png]] | ||
Click an Edit button next to some layer, and another Edit button next to some folder. Pages with wikitext should open in separate tabs. Examine the data and compare it to what you see on the timeline. Here is an example for a layer. Here is an example for a folder. | Click an Edit button next to some layer, and another Edit button next to some folder. Pages with wikitext should open in separate tabs. Examine the data and compare it to what you see on the timeline. Here is an example for a [https://historytimeline.app/wiki/index.php?title=HistoryTimelineLayer:Kings%20of%20Rome&action=edit layer]. Here is an example for a [https://historytimeline.app/wiki/index.php?title=HistoryTimelineFolder:Ancient%20Rome&action=edit folder]. | ||
To change something on the timeline you edit wikitext on an appropriate page. If you need to add a folder or a layer, you have to create a corresponding page on the wiki. | To change something on the timeline you edit wikitext on an appropriate page. If you need to add a folder or a layer, you have to create a corresponding page on the wiki. | ||
Revision as of 17:25, 11 May 2021
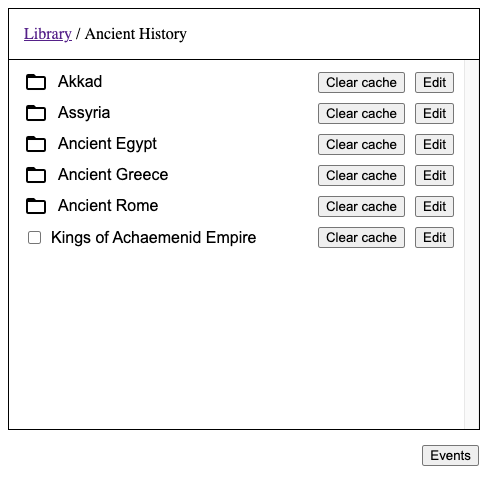
Let’s see how the information about events is stored on the server. Make sure that the library is open (click ‘Events’ button in the bottom right corner of the screen if needed)
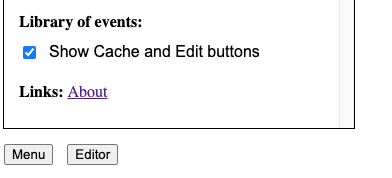
Then open Menu (click ‘Menu’ button in the bottom left corner of the screen). Now select ‘Show Cache and Edit buttons’.
You should see that Cache and Edit buttons have appeared in the Library next to each folder and layer of edits.
Click an Edit button next to some layer, and another Edit button next to some folder. Pages with wikitext should open in separate tabs. Examine the data and compare it to what you see on the timeline. Here is an example for a layer. Here is an example for a folder.
To change something on the timeline you edit wikitext on an appropriate page. If you need to add a folder or a layer, you have to create a corresponding page on the wiki.
Before you edit anything on this wiki, you edit and test things locally on your computer. So, let’s next learn how to use the Editor.
The Editor
There should be a button called ‘Editor’ in the bottom left corner of the screen next to the Menu button. If you don’t see it, it’s because the browser window is too small to fit the Editor. On a desktop try making the browser window fullscreen. If you have a small-screen device like a mobile phone, you won’t be able to use the Editor.

