Difference between revisions of "Documentation:The Editor and data format"
m (79 revisions imported) |
|||
| (11 intermediate revisions by the same user not shown) | |||
| Line 5: | Line 5: | ||
[[File:ShowCacheAndEditButtons.png]] | [[File:ShowCacheAndEditButtons.png]] | ||
You should see that ''Clear cache'' and ''Edit'' buttons have appeared in the Library next to each folder and layer of | You should see that ''Clear cache'' and ''Edit'' buttons have appeared in the Library next to each folder and layer of events. | ||
[[File:CacheAndEventButtons.png]] | [[File:CacheAndEventButtons.png]] | ||
Click an ''Edit'' button next to some layer, and another ''Edit'' button next to some folder. Pages with wikitext should open in separate tabs. Examine the data and compare it to what you see on the timeline. Here is an example for a [https:// | Click an ''Edit'' button next to some layer, and another ''Edit'' button next to some folder. Pages with wikitext should open in separate tabs. Examine the data and compare it to what you see on the timeline. Here is an example for a [https://timeline.oldera.org/wiki/index.php?title=HistoryTimelineLayer:Kings%20of%20Rome&action=edit layer]. Here is an example for a [https://timeline.oldera.org/wiki/index.php?title=HistoryTimelineFolder:Ancient%20Rome&action=edit folder]. | ||
Let's look at this example: | Let's look at this example: | ||
| Line 38: | Line 38: | ||
There are 7 data fields for each event: | There are 7 data fields for each event: | ||
[[File: | [[File:NewDataFormat.png]] | ||
Some data fields are used by one kind of event but not the other. Others are used by both. | Some data fields are used by one kind of event but not the other. Others are used by both. | ||
| Line 101: | Line 101: | ||
[[File:VisibleDynasty.png]] | [[File:VisibleDynasty.png]] | ||
''Link'' - this field is only used for time intervals. By default the visible text of the time interval is the link to the corresponding Wikipedia page. If you want the link to be different from the visible text, specify the actual link in this field. If you want to link to a page outside of Wikipedia, use the full link (which starts with http or https). If you don't want the text to be a link at all, put a | ''Link'' - this field is only used for time intervals. By default the visible text of the time interval is the link to the corresponding Wikipedia page. If you want the link to be different from the visible text, specify the actual link in this field. If you want to link to a page outside of Wikipedia, use the full link (which starts with http or https). If you don't want the text to be a link at all, put a minus sign <code>-</code> in the ''Link'' field. The text in this case will become grey instead of white and will not be clickable. | ||
''Custom dates'' - this field is only used for time intervals. By default every time interval has a range of years specified under its title. | |||
[[File:Rebel.png]] | |||
Those years are automatically taken from the ''Start date'' and ''End date'' fields. | |||
<code>Jean-Féry Rebel;;;;04.18.1666;01.02.1747;</code> | |||
But what if you want to provide more details. For example, sometimes you want to have something like this: | |||
[[File:CharlesDolle.png]] | |||
That’s what the ''Custom dates'' field is for. Simply specify whatever you want to see in the second line there. | |||
<code>Charles Dollé;;(fl. 1735–1755\; d. after 1755);;1735;1755;</code> | |||
Note, that you still have to specify dates in the ''Start date'' and ''End date'' field, because they actually tell the program how to draw the time interval on the Timeline. | |||
''Comment'' - this field is only used for time intervals. If you put some text in it (for example: <code><nowiki>some time interval;;;this is a comment with a [[Hannibal|link]];1978;1982;</nowiki></code>), the plus button will appear on the time interval: | ''Comment'' - this field is only used for time intervals. If you put some text in it (for example: <code><nowiki>some time interval;;;this is a comment with a [[Hannibal|link]];1978;1982;</nowiki></code>), the plus button will appear on the time interval: | ||
| Line 258: | Line 277: | ||
''Visible text'' - is usually the name of the page containing layer data. | ''Visible text'' - is usually the name of the page containing layer data. | ||
''Link'' - if the actual name of the | ''Link'' - if the actual name of the page differs from the visible text, specify the name of the page here. | ||
''Is list'' - This field is used for layers presented as a list of time intervals that you can toggle individually. | ''Is list'' - This field is used for layers presented as a list of time intervals that you can toggle individually. | ||
Latest revision as of 21:15, 7 March 2022
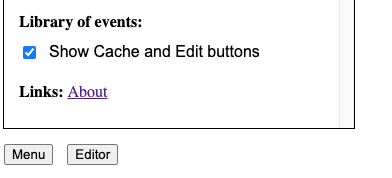
Let’s see how the information about events is stored on the server. Make sure that the library is open (click Events button in the bottom right corner of the screen if needed)
Then open Menu (click Menu button in the bottom left corner of the screen). Now select Show Cache and Edit buttons.
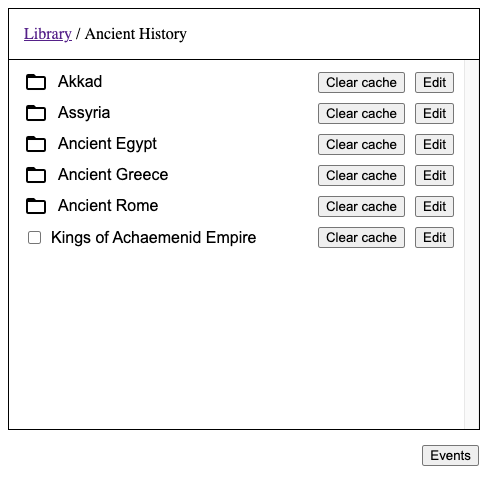
You should see that Clear cache and Edit buttons have appeared in the Library next to each folder and layer of events.
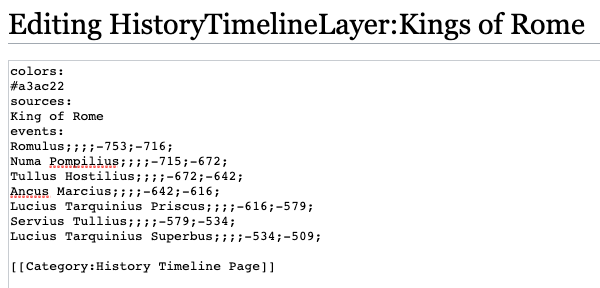
Click an Edit button next to some layer, and another Edit button next to some folder. Pages with wikitext should open in separate tabs. Examine the data and compare it to what you see on the timeline. Here is an example for a layer. Here is an example for a folder.
Let's look at this example:
To change something on the timeline you edit wikitext on an appropriate page. If you need to add a folder or a layer, you have to create a corresponding page on the wiki.
Before you edit anything on this wiki, you edit and test things locally on your computer. So, let’s next learn how to use the Editor.
The Editor
There should be a button called Editor in the bottom left corner of the screen next to the Menu button. If you don’t see it, it’s because the browser window is too small to fit the Editor. On a desktop try making the browser window fullscreen. If you have a small-screen device like a mobile phone, you won’t be able to use the Editor.
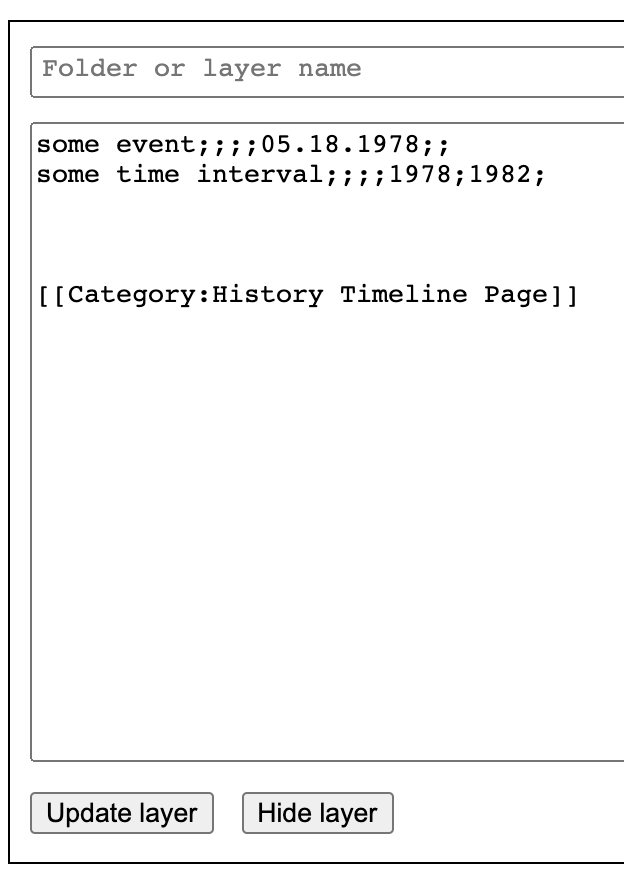
Open the Editor. Let's add a couple of events, like so:
Don't worry about the last line that says something about Category. It will be added automatically. Once you click the 'Update layer' button the events should show up on the timeline:
As you can see there are two kinds of events:
- time intervals, represented by horizontal bars;
- instantaneous events, represented by cards.
Event format
There are 7 data fields for each event:
Some data fields are used by one kind of event but not the other. Others are used by both. Let’s go through all of the data fields one by one.
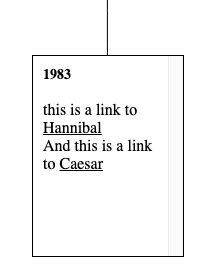
Visible text - for time intervals try to put short titles here, not long sentences. You can use the Comment field to put longer text there. For instantaneous events the text can be longer, but don’t put entire articles there. One or two sentences should suffice. You can use some of the features of Wikipedia’s wikitext in the cards. For example, to add a link, use double brackets. If you want the link title to be different from the page name, specify it after vertical line.
Look at the third line. The second link contains visible text (Caesar) that differs from the page title (Julius Caesar). Also note that you can use \n as a new line character.
This line produces an event on the timeline that looks like this:
If you want to link to a page outside of Wikipedia, provide a full link that starts with http or https. For example, [[google.com]] will create a link to this page on Wikipedia https://en.wikipedia.org/wiki/Google.com (whether such page exists or not). To avoid this you should create a link like so: [[https://google.com|google.com]]
You can make parts of the text italic by enclosing those parts with double apostrophes: ''italic text''. To make some text bold, enclose it with triple apostrophes: '''bold text'''.
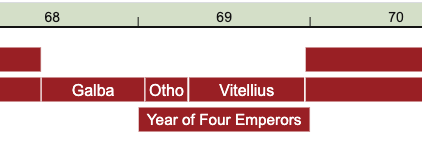
You can make a time interval invisible by putting the word invisible in the Visible text field. This will prevent other time intervals from occupying its space. For an example of when this feature can be useful let’s look at Roman emperors.
We want to have a gap between Julio-Claudian and Flavian dynasties but we don’t want emperors to ‘fall’ through this gap. If you just specify dynasties and then emperors like this:
Julio-Claudian dynasty;;;;01.16.-27;06.08.68;
Flavian dynasty;;;;12.21.69;09.18.96;
Nerva–Antonine dynasty;;;;09.18.96;12.31.192;
Severan dynasty;;;;04.09.193;03.19.235;
Crisis of the Third Century;;;;235;284;
Augustus;;d;;01.16.-27;08.19.14;
Tiberius;;;;09.18.14;03.16.37;
Caligula;;;;03.18.37;01.24.41;
Claudius;;;;01.24.41;10.13.54;
Nero;;;;10.13.54;06.08.68;
Galba;;;;06.08.68;01.15.69;
Otho;;;;01.15.69;04.16.69;
Vitellius;;;;04.18.69;12.20.69;
Vespasian;;;;12.21.69;06.24.79;
you’d end up with this:
Just specify an invisible time interval between the dynasties:
Julio-Claudian dynasty;;;;01.16.-27;06.08.68;
invisible;;;;06.08.68;12.21.69;
Flavian dynasty;;;;12.21.69;09.18.96;
and you’ll get this:
It may be helpful to temporarily make the time interval visible by using any text other than ‘invisible’. This way you can see where you put the time interval before making it invisible. For example, if you temporarily use this: visible;;;;06.08.68;12.21.69; you’ll see the time interval:
Link - this field is only used for time intervals. By default the visible text of the time interval is the link to the corresponding Wikipedia page. If you want the link to be different from the visible text, specify the actual link in this field. If you want to link to a page outside of Wikipedia, use the full link (which starts with http or https). If you don't want the text to be a link at all, put a minus sign - in the Link field. The text in this case will become grey instead of white and will not be clickable.
Custom dates - this field is only used for time intervals. By default every time interval has a range of years specified under its title.
Those years are automatically taken from the Start date and End date fields.
Jean-Féry Rebel;;;;04.18.1666;01.02.1747;
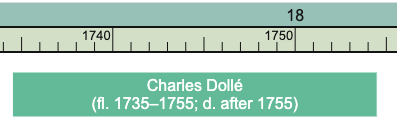
But what if you want to provide more details. For example, sometimes you want to have something like this:
That’s what the Custom dates field is for. Simply specify whatever you want to see in the second line there.
Charles Dollé;;(fl. 1735–1755\; d. after 1755);;1735;1755;
Note, that you still have to specify dates in the Start date and End date field, because they actually tell the program how to draw the time interval on the Timeline.
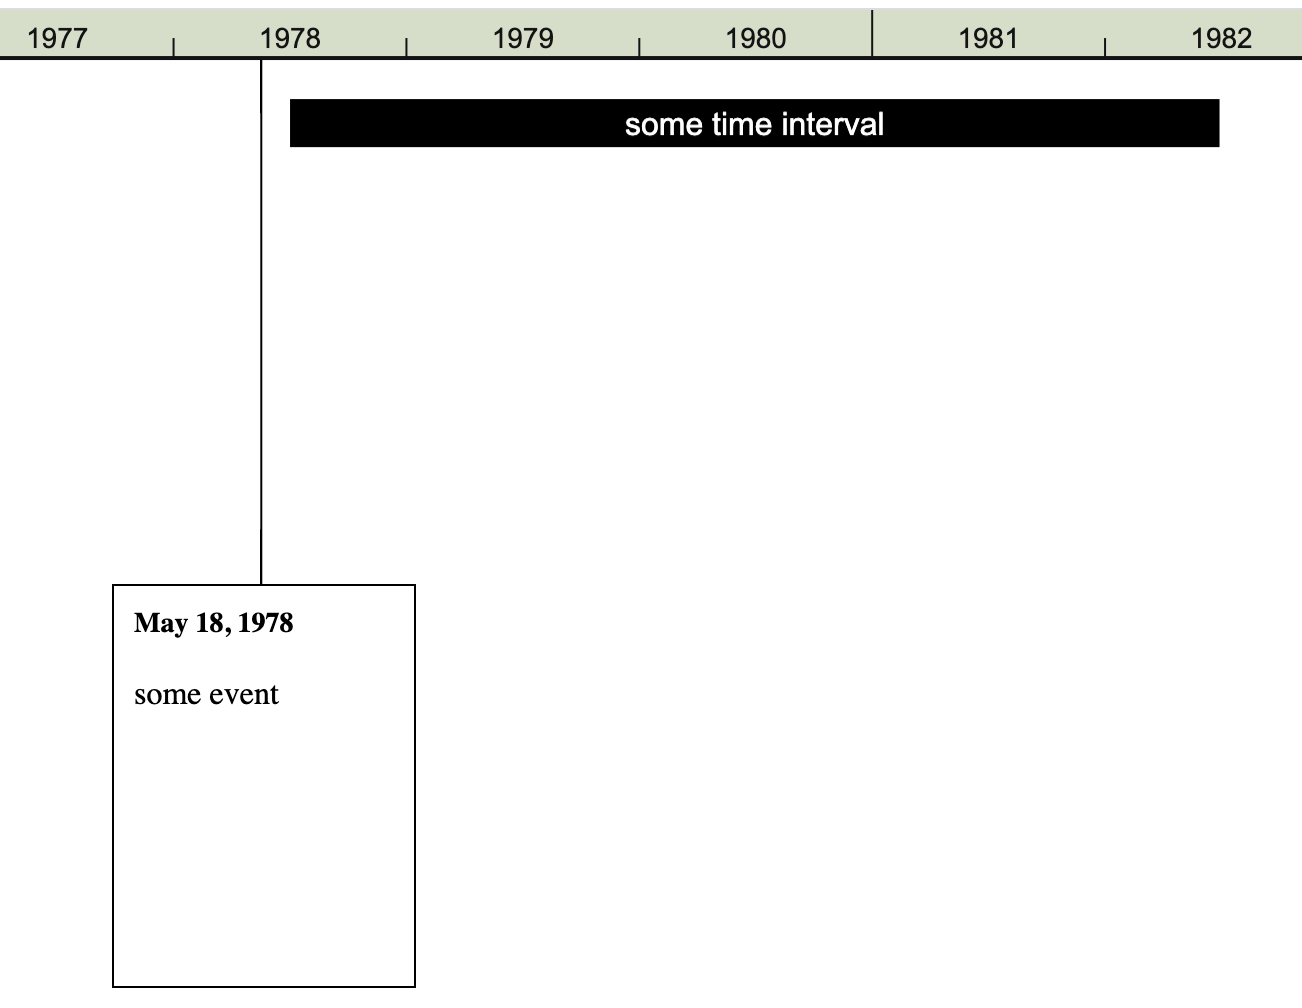
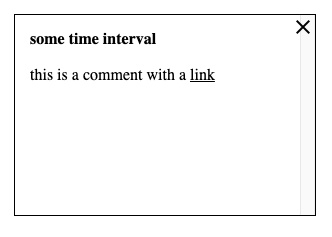
Comment - this field is only used for time intervals. If you put some text in it (for example: some time interval;;;this is a comment with a [[Hannibal|link]];1978;1982;), the plus button will appear on the time interval:
When you click that button the comment will appear in the middle of the screen.
Inside the text of the comment you can use all the wikitext tricks described earlier for the Visible text field.
Start date and End date - Instantaneous events have only start date, while time intervals have both start and end dates. The date format is this: MM.DD.YYYY. This is an example of an event with a full date:
some event with a full date;;;;05.25.2001;;
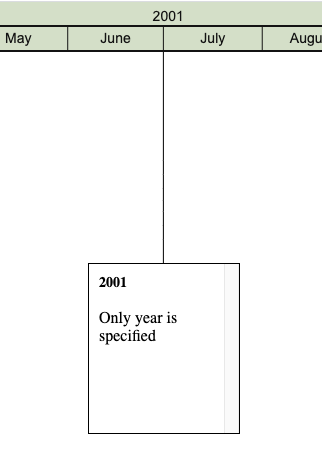
Also, you can specify only month, without a date: 05.2001. Or you can specify only year: 2001. When you specify only year, the event will point to a moment between June and July of that year:
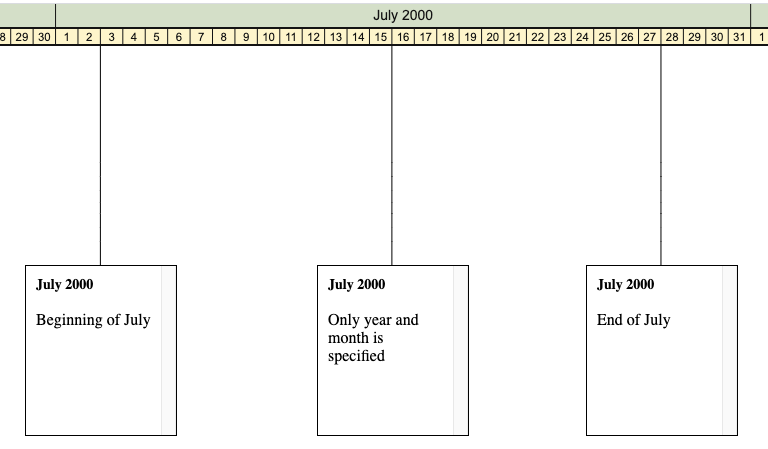
If you specify month without a date, the event will point roughly to the middle of that month, a moment between 15th and 16th day of that month (see the picture below). In general, when event is pointing to a moment between days, it shows that we don't know the date precisely, and the positions of events on the timeline should not be taken literally in such cases.
To specify that a year is BC/BCE use the minus sign. Note, that the minus should go before the year, not entire date. For example: 03.15.-44 is correct, and -03.15.44 is not. Also note that even though we use the minus sign, we don’t use the astronomical year numbering system where year Zero corresponds to 1 BC, year -1 to year 2 BC and so on. There is no year Zero on the Timeline, and minus simply means BC. For example, year -44 is year 44 BC.
Sometimes you need to show that some event happened in the beginning of month, or the end of month. You can use letters b (for 'beginning') and e (for 'end') in dates. For example, 07b.2000 means beginning of July 2000, and 07e.2000 means end of July 2000. These instructions:
Beginning of July;;;;07b.2000;;
Only year and month is specified;;;;07.2000;;
End of July;;;;07e.2000;;
produce these events on the Timeline:
By default ‘the beginning of month’ is between 2nd and 3rd day of the month, and ‘the end of month’ is between 27th and 28th day (so I don’t need to account for varying month lengths and leap day in February). But if you need to, you can always change the date and still make the event point between two days. Just use b or e on the day instead of on the month. For example, 07.30b.2000 would place the event between 29th and 30th of July 2000.
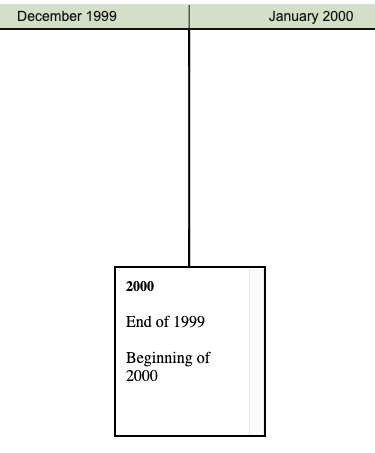
Sometimes you want to put an event right between two adjacent years. Just use b and e on the year. For example, these two events point to the same moment in time:
End of 1999;;;;1999e;;
Beginning of 2000;;;;2000b;;
And so they are shown both in one card:
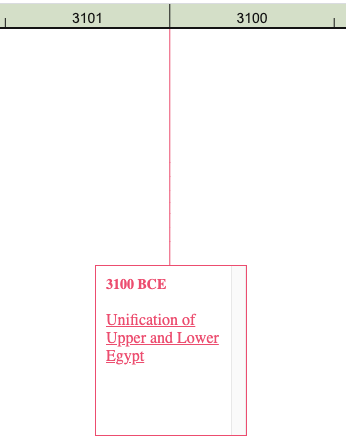
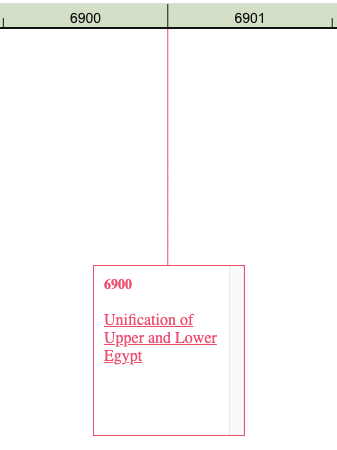
Usually you use this technique on ancient events where the date is round and approximate. For example:
When you select another timeline in the Menu (Holocene Calendar or the Old Era) the date will be converted to nice and round 6900 instead of 6901:
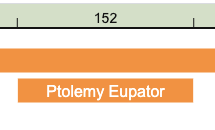
You can use the same syntax to specify start and end dates of time intervals. For example, the source I used to create the layer on Ptolemaic dynasty says that Ptolemy VI Philometor briefly ruled jointly with Ptolemy Eupator in 152 BCE. I didn’t dig any deeper to find out more precise dates, so all I know is that Ptolemy Eupator ruled for some time in 152 BCE. I showed his rule like this:
This is what the instructions look like on the server:
Ptolemy Eupator;;;;-152b;-152e;
Because the ends of the time interval point to the beginning and the end of the year, you understand that you can’t take them literally. Ptolemy Eupator could have easily ruled for a couple of months or just a few days, as far as I'm concerned.
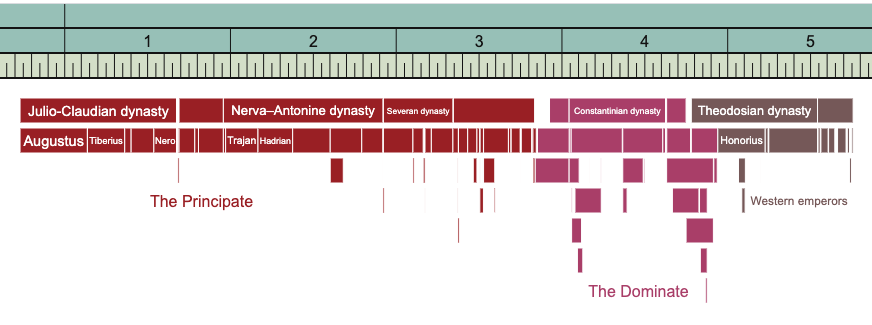
Color - All events of a layer have the default color. So usually you don’t need to put anything in this field. However, if you need to give some events a different color, you put color index in this field. For this to work you need to have the needed color in the list of colours. More on that below. Also you can make the background of the time interval transparent by putting letter t into the Color field. Let's see an example of events with transparent backgrounds:
The Principate, The Dominate, and Western emperors are just time intervals with transparent backgrounds. This is how they are specified in the source text:
The Principate;Principate;;;01.16.-27;193b;t
The Dominate;Dominate;;;10.28.306;387;1t
Western emperors;Western Roman Empire;;;411;09.04.476;2t
Note that you can combine color index with transparency marker.
Layer metadata
You should put metadata before the list of events, including the colours used by the events and sources (links to pages you got the information for the layer from).
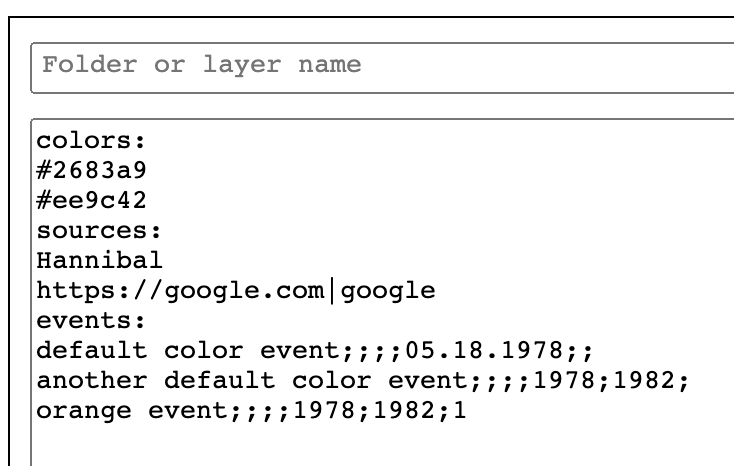
The layer with metadata may look something like this:
Here is the text version that you can copy:
colors:
#2683a9
#ee9c42
sources:
Hannibal
https://google.com|google
events:
event or default color;;;;05.18.1978;;
another event or default color;;;;1978;1982;
orange event;;;;1978;1982;1
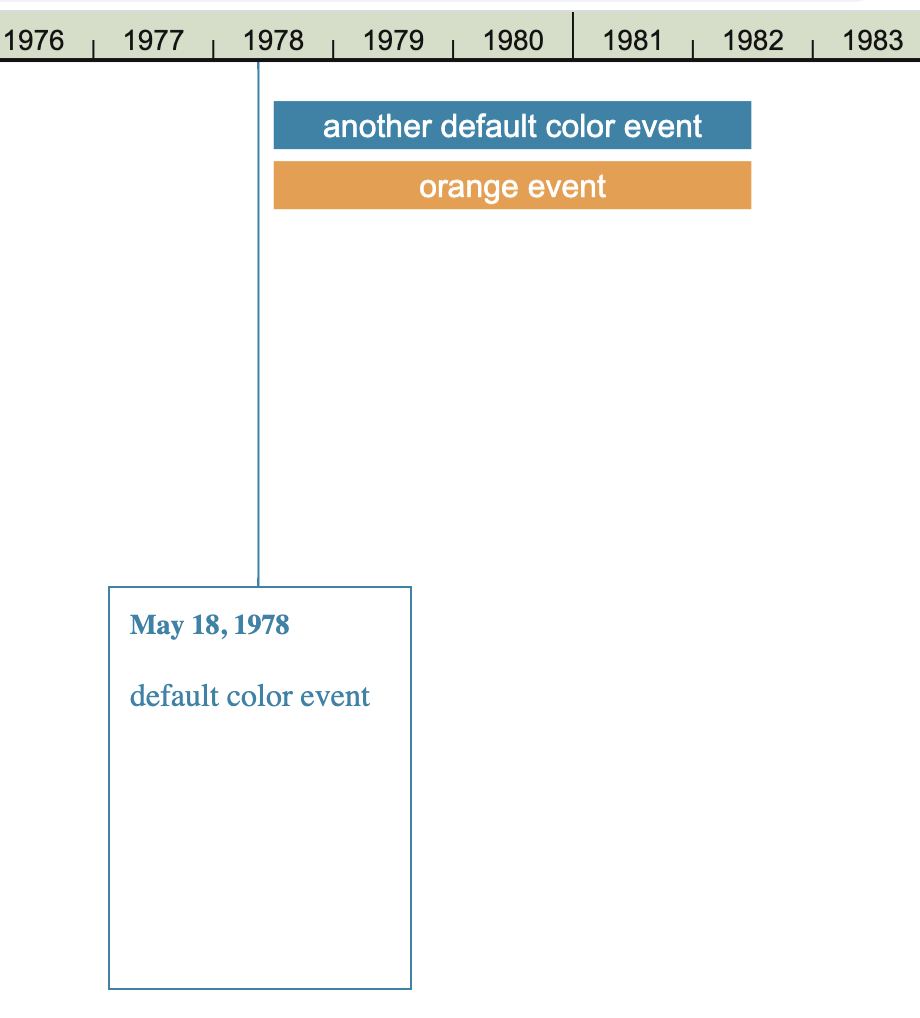
This code produces these events on the timeline:
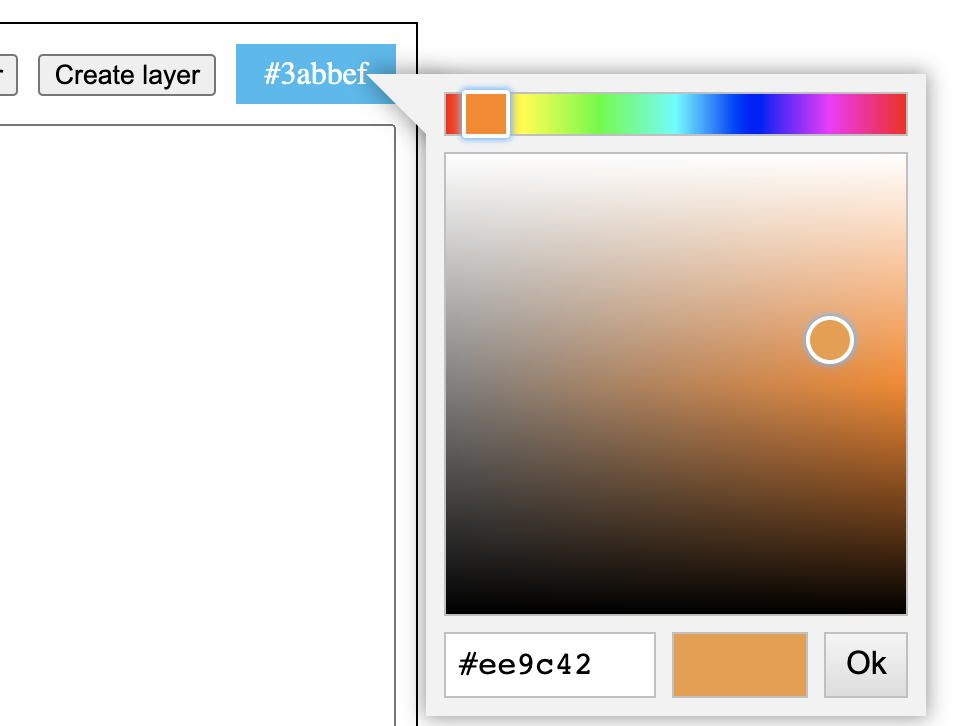
To pick colors use the color picker:
After selecting the color in the picker copy the hex code of that color and paste it into the list of colors in the Editor.
Colors in the list have implicit indices that start with 0. The 0th color (the first color in the list) is the default color of the layer. Once you have specified it, all the events will have that color. To use other colours in the list you specify their indices in the Color field of the event you want to apply that color to. Notice in the example how I use index 1 in the orange event: orange event;;;;1978;1982;1
Sources are just page names (if you link to Wikipedia pages) or full urls starting with http or https. When there is only one source page specified, you get a button ‘Source’ in the Library next to the name of the layer. Clicking this button will open a source page in the new tab. If there are more than one page specified, you get a button ‘Sources’ instead. Clicking this button opens a popup with a list of links to the pages.
If you want the text in links to differ from the title of the page on Wikipedia or url for pages on other sites, specify the text after vertical line. This syntax can be seen in the example.
Notice, that once you have sources and/or colors specified, you have to put ‘events:’ before the list of events.
After the list of events there should be a line: [[Category:History Timeline Page]]. It is used to easily download all the folder and layer pages. That's how I make backups. I made it so that without this line the layer or folder simply won't work. The good news is that this line is added into the Editor automatically for you. Just don't forget to copy it with all the other information when adding data to the server.
The Parser
In all of the examples in this article we created the data manually just to teach you the data format. That’s not how you usually create layers for the Timeline though. There is a program called Parser that greatly facilitates the creation of layers. You can learn how to use it from this article.
Uploading data to the server
Once your layer is created and tested, you can upload it to the server. You need to create a corresponding page on the server. For layers this page should be in the HistoryTimelineLayer namespace. There are two ways you can create a page on the server. One is hard and not recommended. The other is easy.
The hard way looks like this. You go to the site and in the search field enter the title of the page you want to create (don’t forget the namespace).
In the search results you will see the red link because such article doesn’t exist yet.
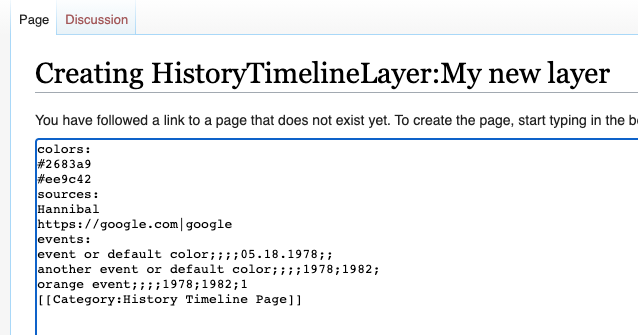
Click that link. Now you can paste the layer data and save it.
The easy (and recommended) way looks like this. You type the name of the layer (without the namespace) in the top input field of the Editor.
You then click Create layer button. This will send you directly to the article creation page with the correct title where you can paste the layer data.
Adding the layer to the Library
Now that the layer is created on the server you need to make it accessible from the Timeline. To do it you need to add it to the Library. Open the Library and go to Sandbox folder. Make sure that the Cache and Edit buttons are visible. If not, use Menu to make them visible. Click the Edit button next to the Add your layers here folder.
Now you can add a reference to your layer in the list.
The data format for layer reference is simple.
Visible text - is usually the name of the page containing layer data.
Link - if the actual name of the page differs from the visible text, specify the name of the page here.
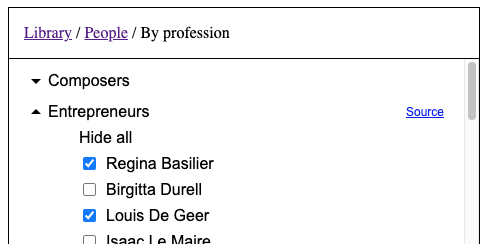
Is list - This field is used for layers presented as a list of time intervals that you can toggle individually.
If you want to specify that your layer should be viewed this way, put an l (lowercase L) in this field (for example: My new layer;;l). Otherwise leave the field empty.
Don’t forget to clear cache
After you add your layer to the Library most likely you won’t see any changes on the Timeline. That’s because the program uses the cached version of Add your layers here folder. To fix this click the Clear cache button next to the name of this folder.
