Difference between revisions of "Documentation:The Editor and data format"
| Line 53: | Line 53: | ||
[[File:LinksInsideCardExample.png]] | [[File:LinksInsideCardExample.png]] | ||
If you want to link to a page outside of Wikipedia, provide a full link that starts with http or https. For example <code><nowiki>[[google.com]]</nowiki></code> will create a link to this page on Wikipedia <code><nowiki>https://en.wikipedia.org/wiki/Google.com</nowiki></code> (whether such page exists or not). In this case you should link it like so: <code><nowiki>[[https://google.com|google.com]]</nowiki></code> | |||
Revision as of 17:47, 6 June 2021
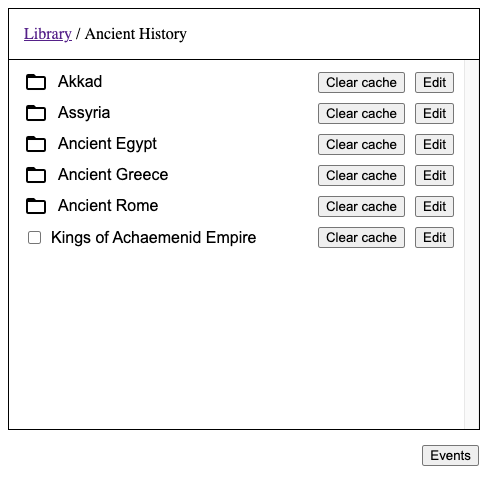
Let’s see how the information about events is stored on the server. Make sure that the library is open (click ‘Events’ button in the bottom right corner of the screen if needed)
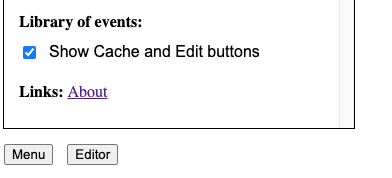
Then open Menu (click ‘Menu’ button in the bottom left corner of the screen). Now select ‘Show Cache and Edit buttons’.
You should see that Cache and Edit buttons have appeared in the Library next to each folder and layer of edits.
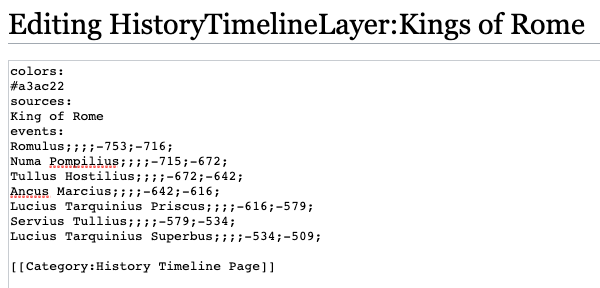
Click an Edit button next to some layer, and another Edit button next to some folder. Pages with wikitext should open in separate tabs. Examine the data and compare it to what you see on the timeline. Here is an example for a layer. Here is an example for a folder.
Let's look at this example:
To change something on the timeline you edit wikitext on an appropriate page. If you need to add a folder or a layer, you have to create a corresponding page on the wiki.
Before you edit anything on this wiki, you edit and test things locally on your computer. So, let’s next learn how to use the Editor.
The Editor
There should be a button called ‘Editor’ in the bottom left corner of the screen next to the Menu button. If you don’t see it, it’s because the browser window is too small to fit the Editor. On a desktop try making the browser window fullscreen. If you have a small-screen device like a mobile phone, you won’t be able to use the Editor.
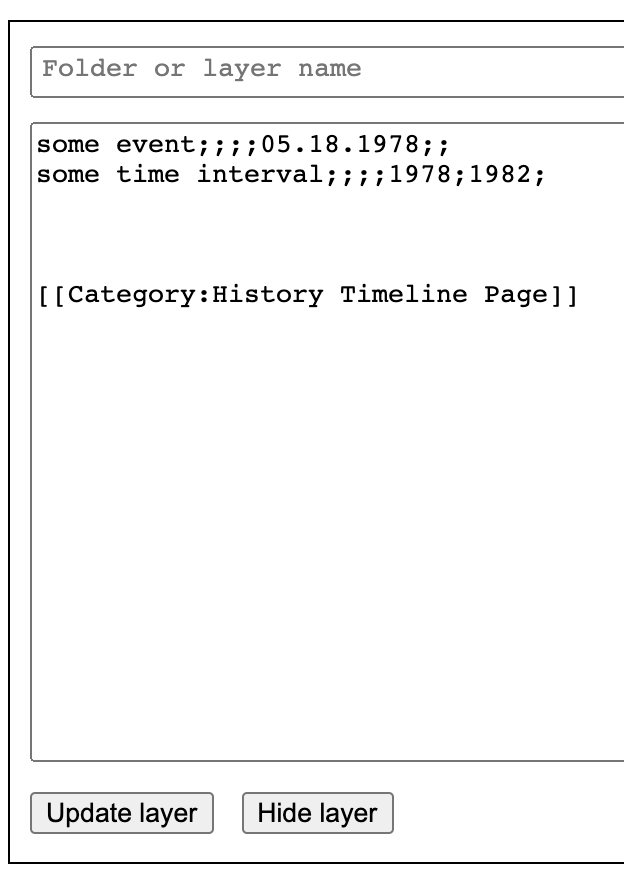
Open the Editor. Let's add a couple of events, like so:
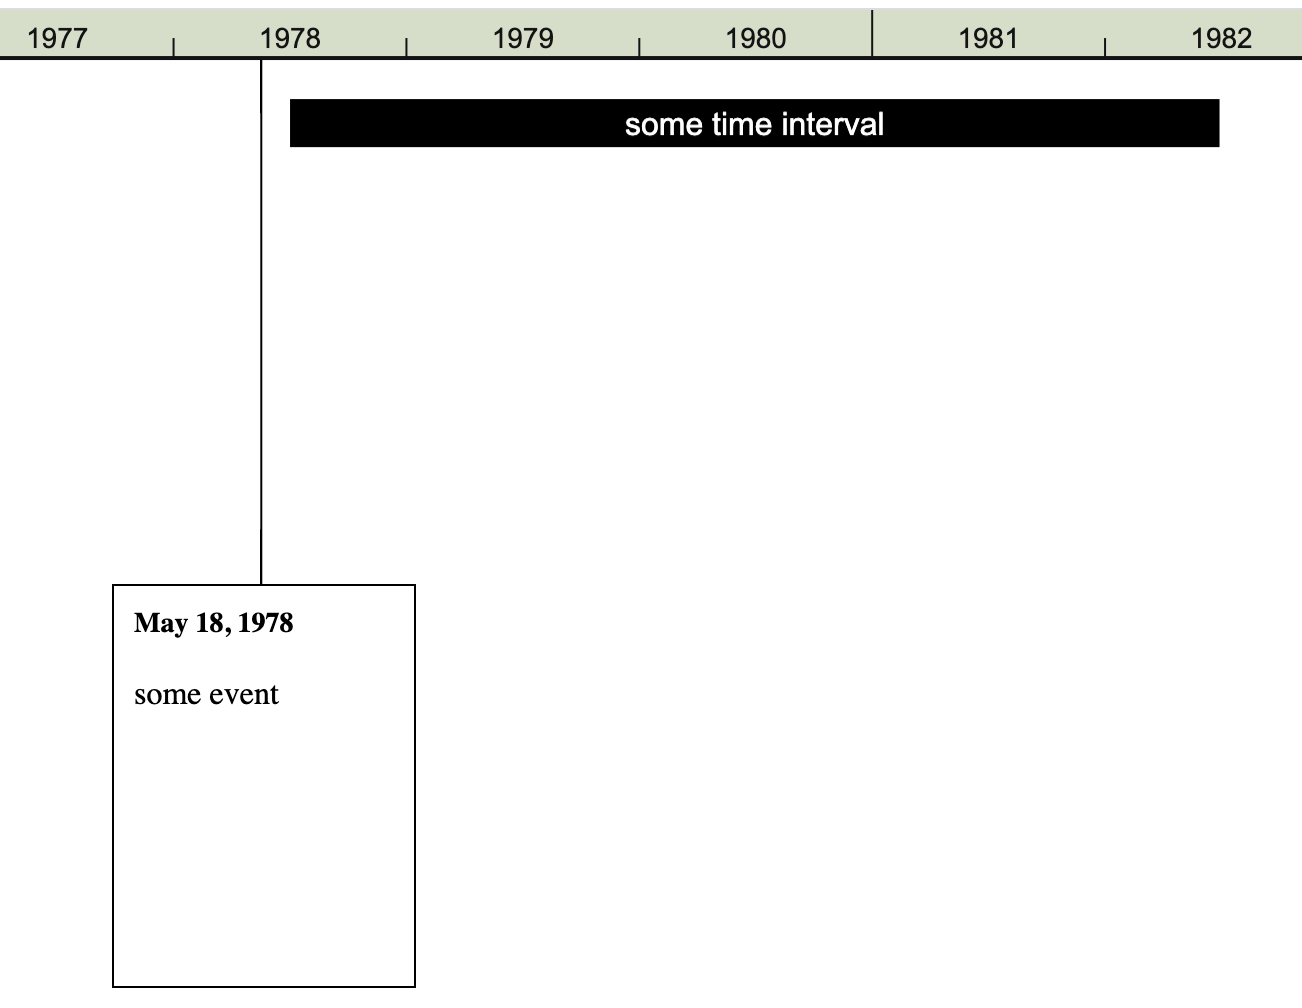
Don't worry about the last line that says something about Category. It will be added automatically. Once you click the 'Update layer' button the events should show up on the timeline:
As you can see there are two kinds of events:
- continuous, represented by horizontal bars;
- and momentary events, represented by cards, connected to the timeline with a line.
There are 7 data fields for each event:
Some data fields are used by one kind of event but not the other. Others are used by both. Let’s go through all of the data fields one by one.
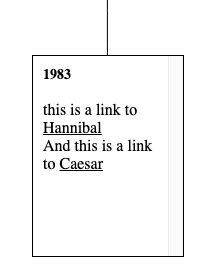
Visible text - for continuous events try to put short titles here, not whole sentences. You can use Comment field to put longer text there. For momentary events the text can be longer, but don’t put entire articles there. One or two sentences should suffice. In the cards you can use some of the features of Wikipedia’s wikitext. For example, to add a link, use double brackets. If you want the link title to be different from the page name, specify it after vertical line.
Look at the third line. The second link contains visible text (Caesar) that differs from the page title (Julius Caesar). Also note that you can use \n as a new line character. This line produces an event on the timeline that looks like this:
If you want to link to a page outside of Wikipedia, provide a full link that starts with http or https. For example [[google.com]] will create a link to this page on Wikipedia https://en.wikipedia.org/wiki/Google.com (whether such page exists or not). In this case you should link it like so: [[https://google.com|google.com]]
